How to Wear a Hernia Belt Correctly (Step-by-Step) | Single Side Comfort-Truss

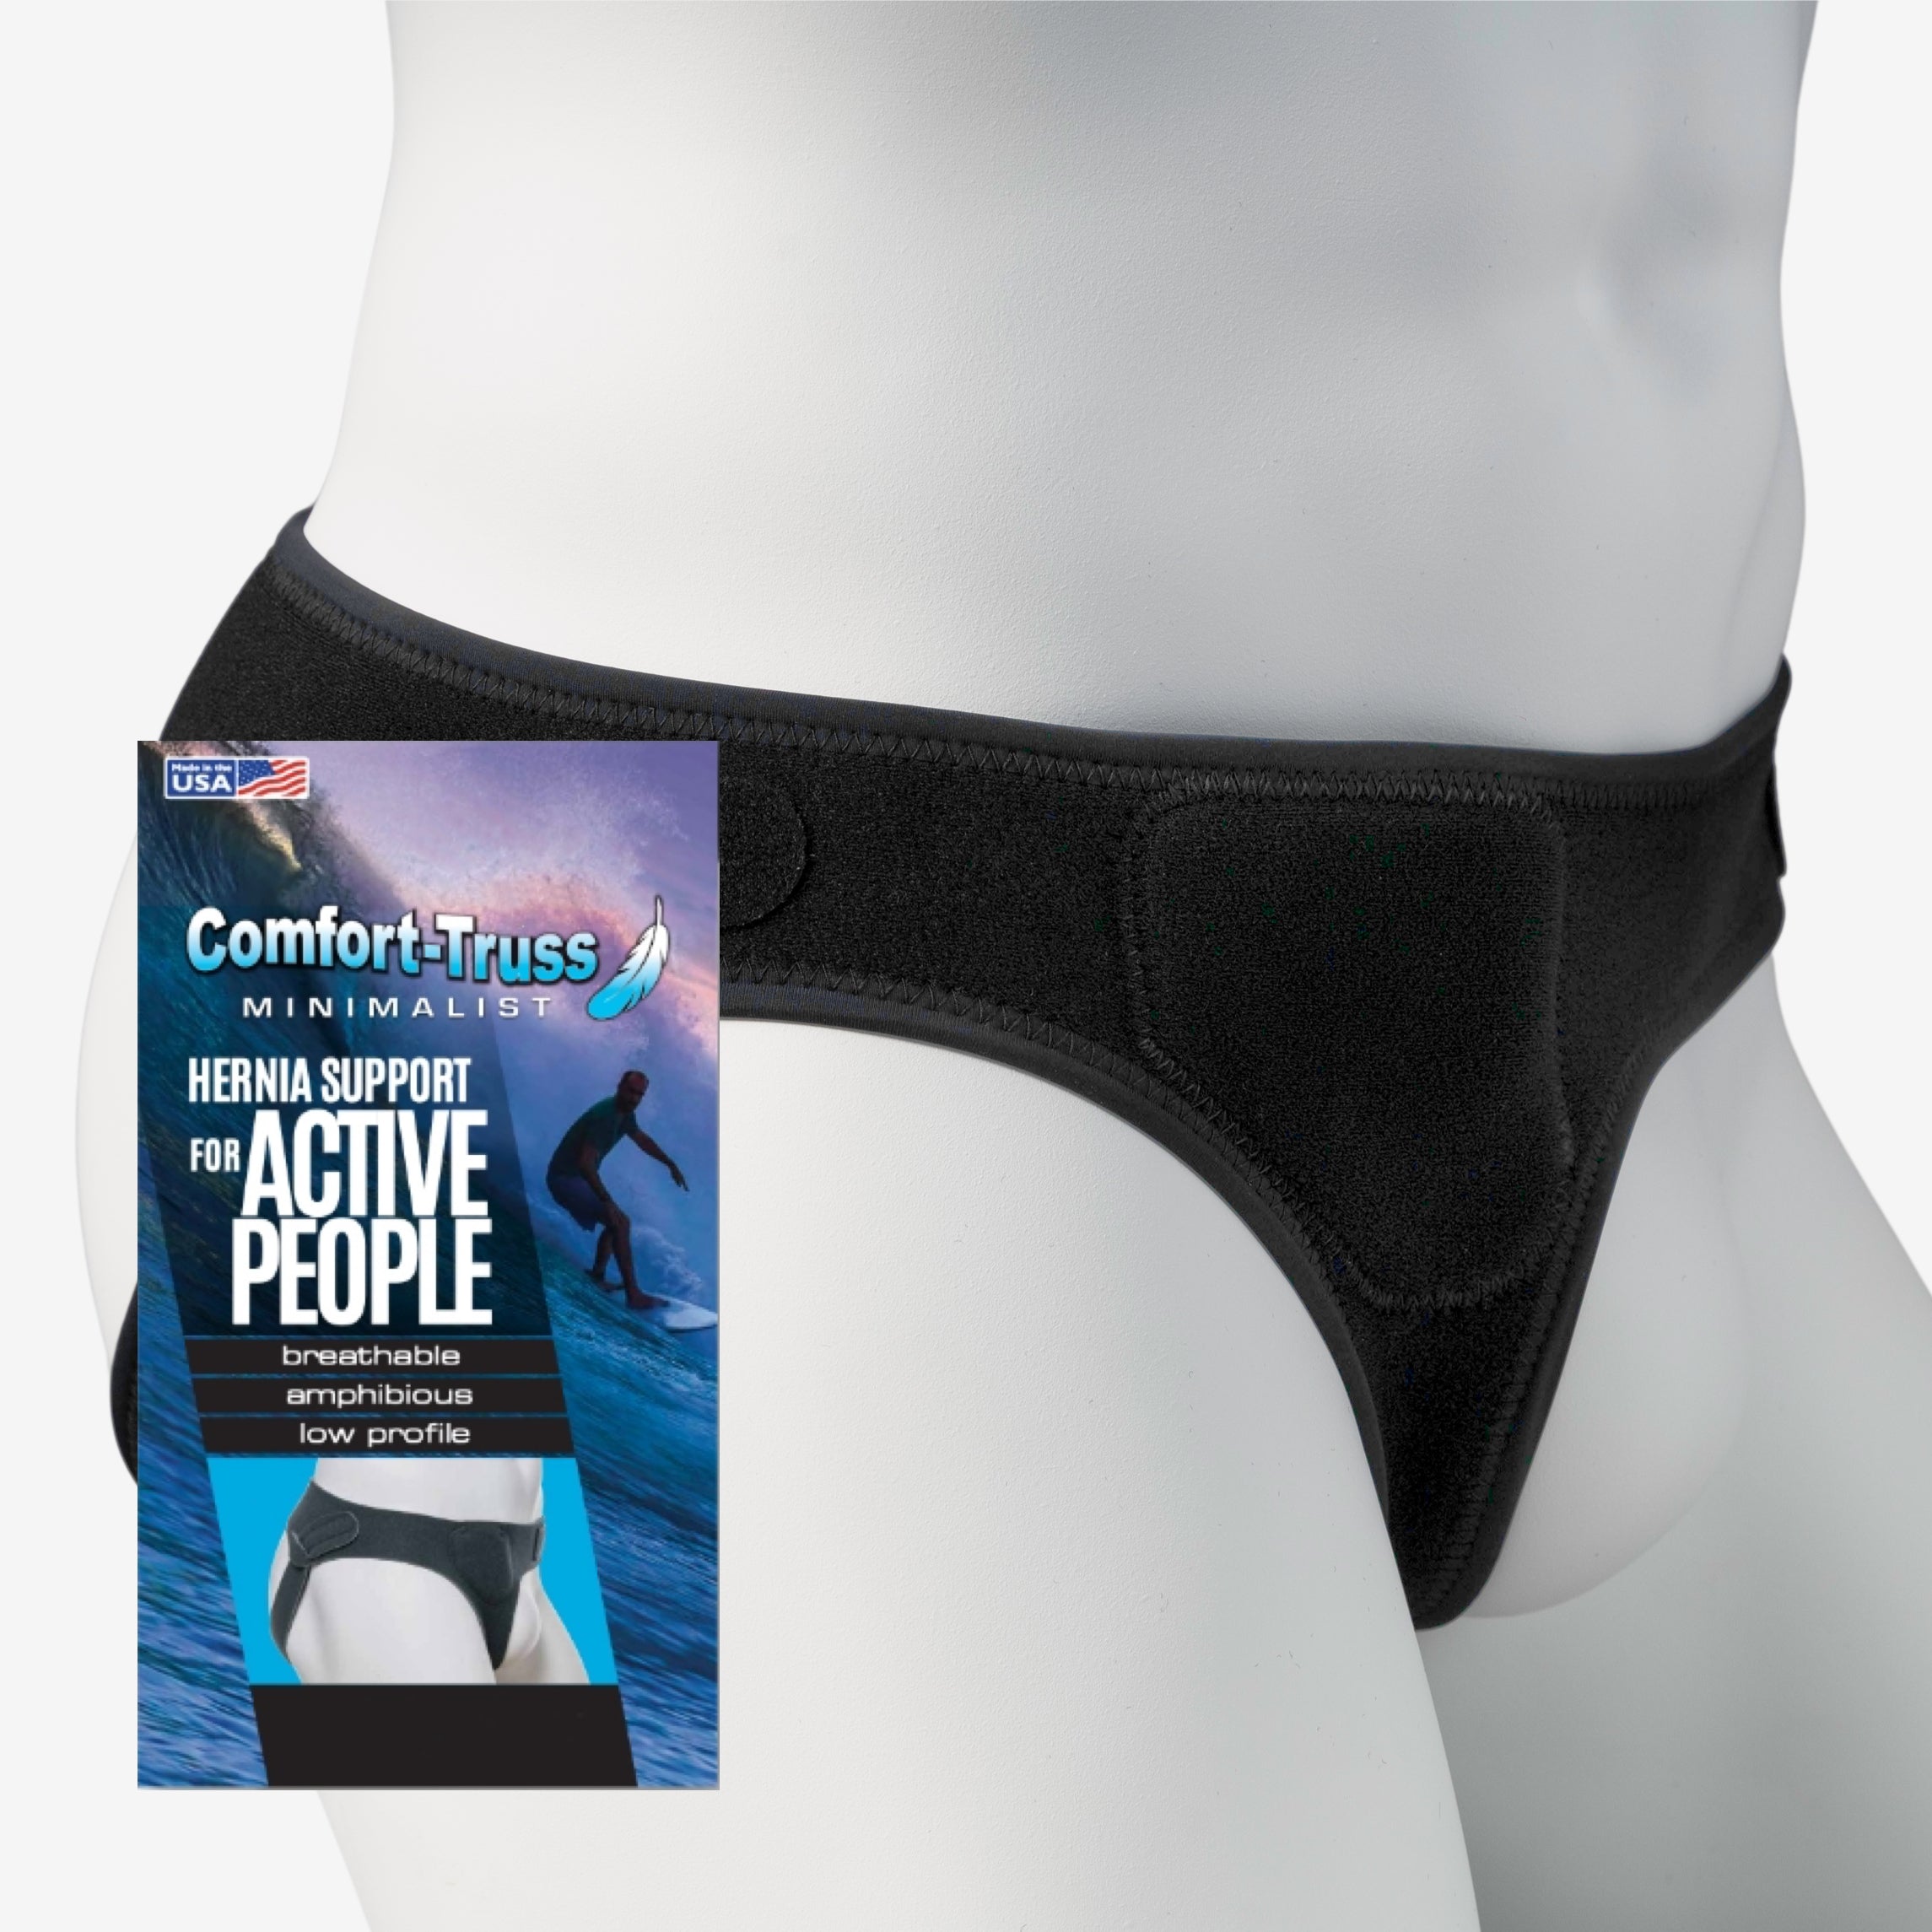
Hey everyone — George here from Comfort-Truss. If you're unsure how to properly wear your single-side hernia belt, this quick guide will walk you through everything step-by-step.
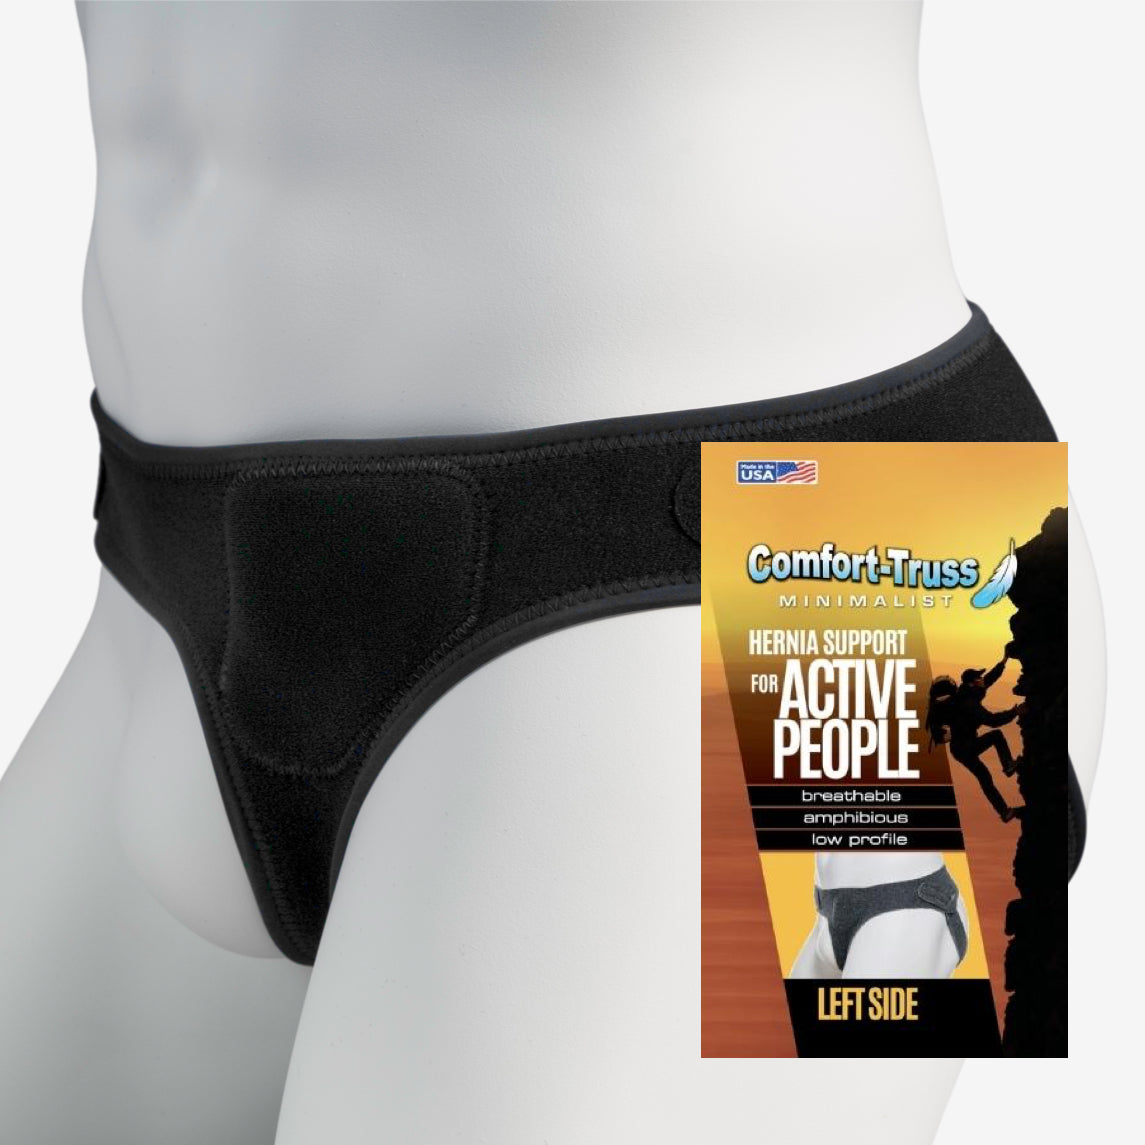
We offer two versions of the belt: one for left-side hernias and one for right-side hernias. Choosing the correct side and wearing it the right way makes all the difference in how well the belt supports you.
✅ Step 1: Make Sure You Ordered the Correct Side
This might sound obvious, but it’s a common point of confusion. If your hernia is on your left side when looking down at your body, you need a left-side belt. If it’s on the right, you need a right-side belt.
💡 Pro Tip: Sometimes people mistakenly think they received the wrong side when the belt is just being worn inside out. Always check the label!
✅ Step 2: Reduce Your Hernia Before Putting the Belt On
Before you even touch the belt, make sure your hernia is fully reduced. That means there's no bulge showing. You might need to lie down, gently push it in, or massage it into place.
⚠️ If you cannot push the hernia in, do not wear a hernia belt. Contact your doctor right away.
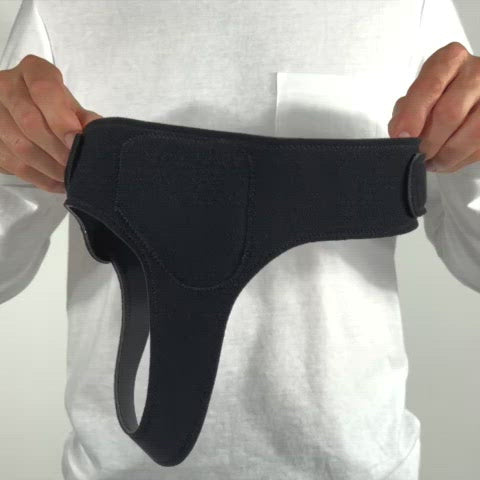
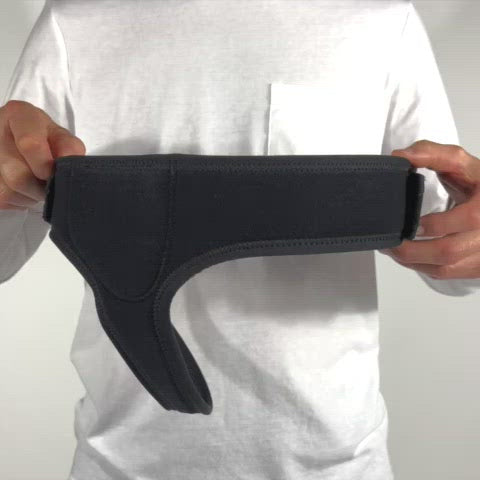
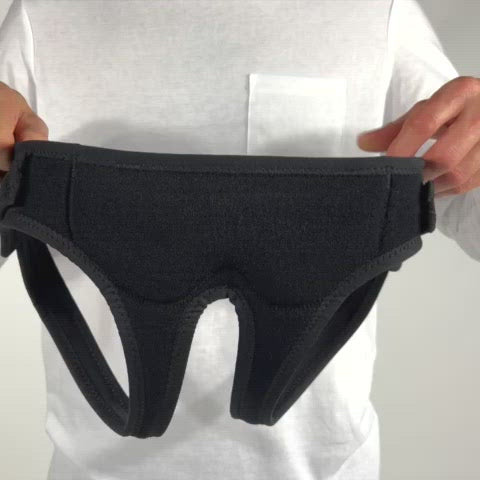
✅ Step 3: Don’t Panic if the Belt Looks Small
When you first unbox the belt, it may look way too small. That’s normal.
Our fabric is designed to stretch up to 5 inches and will break in over time for a more customized fit.
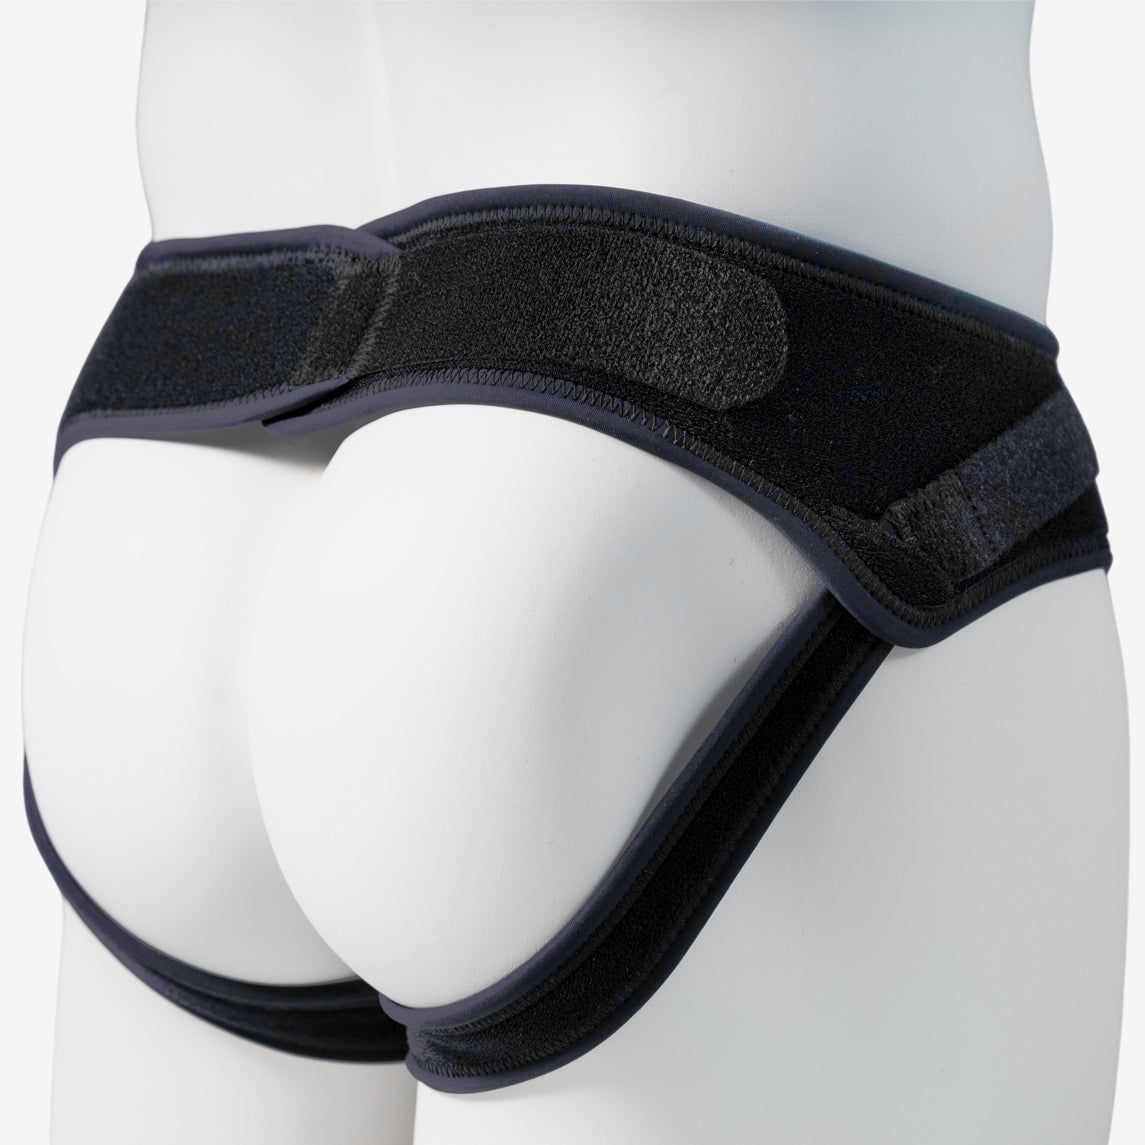
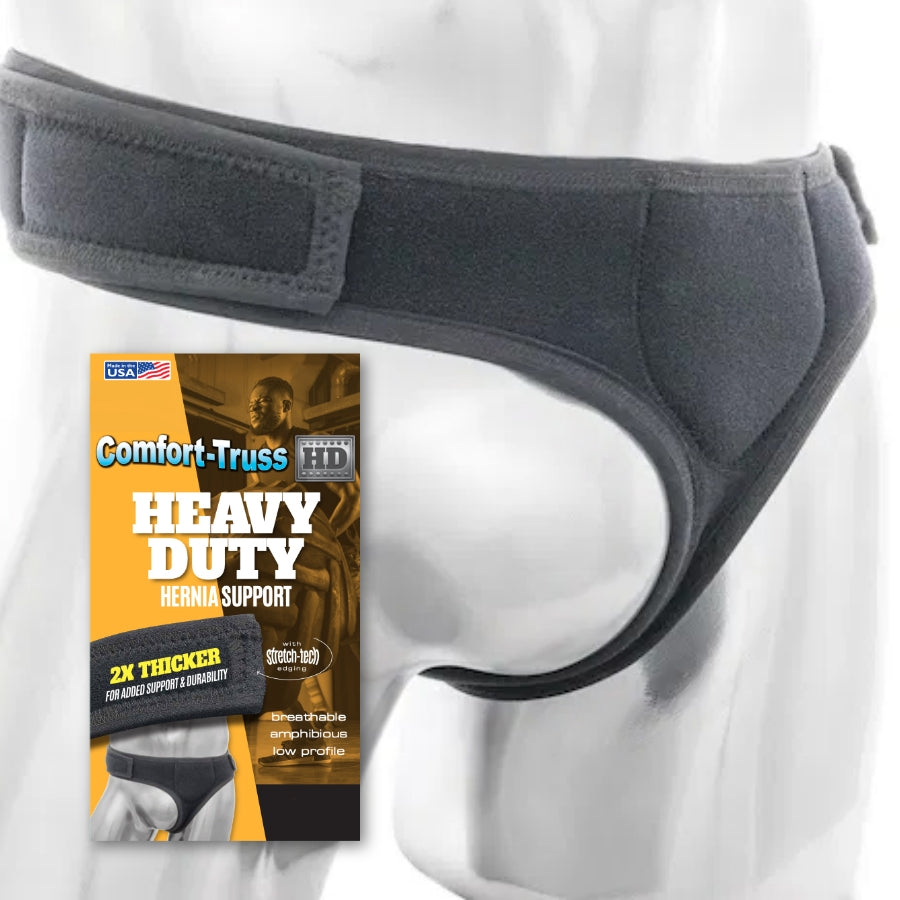
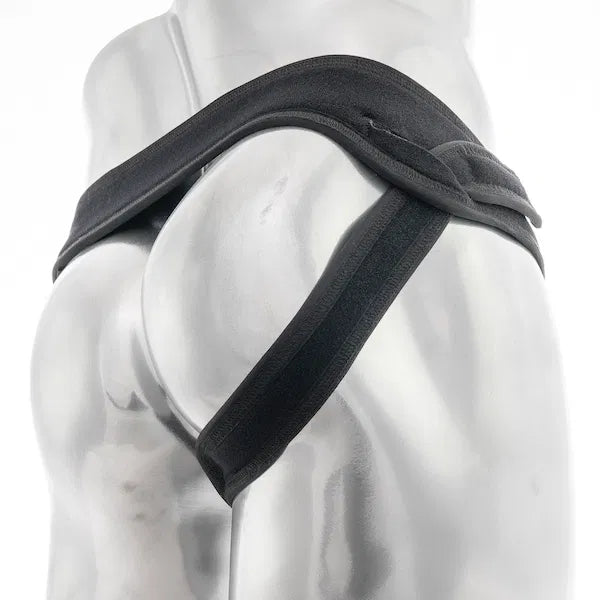
✅ Step 4: Orient the Belt Correctly
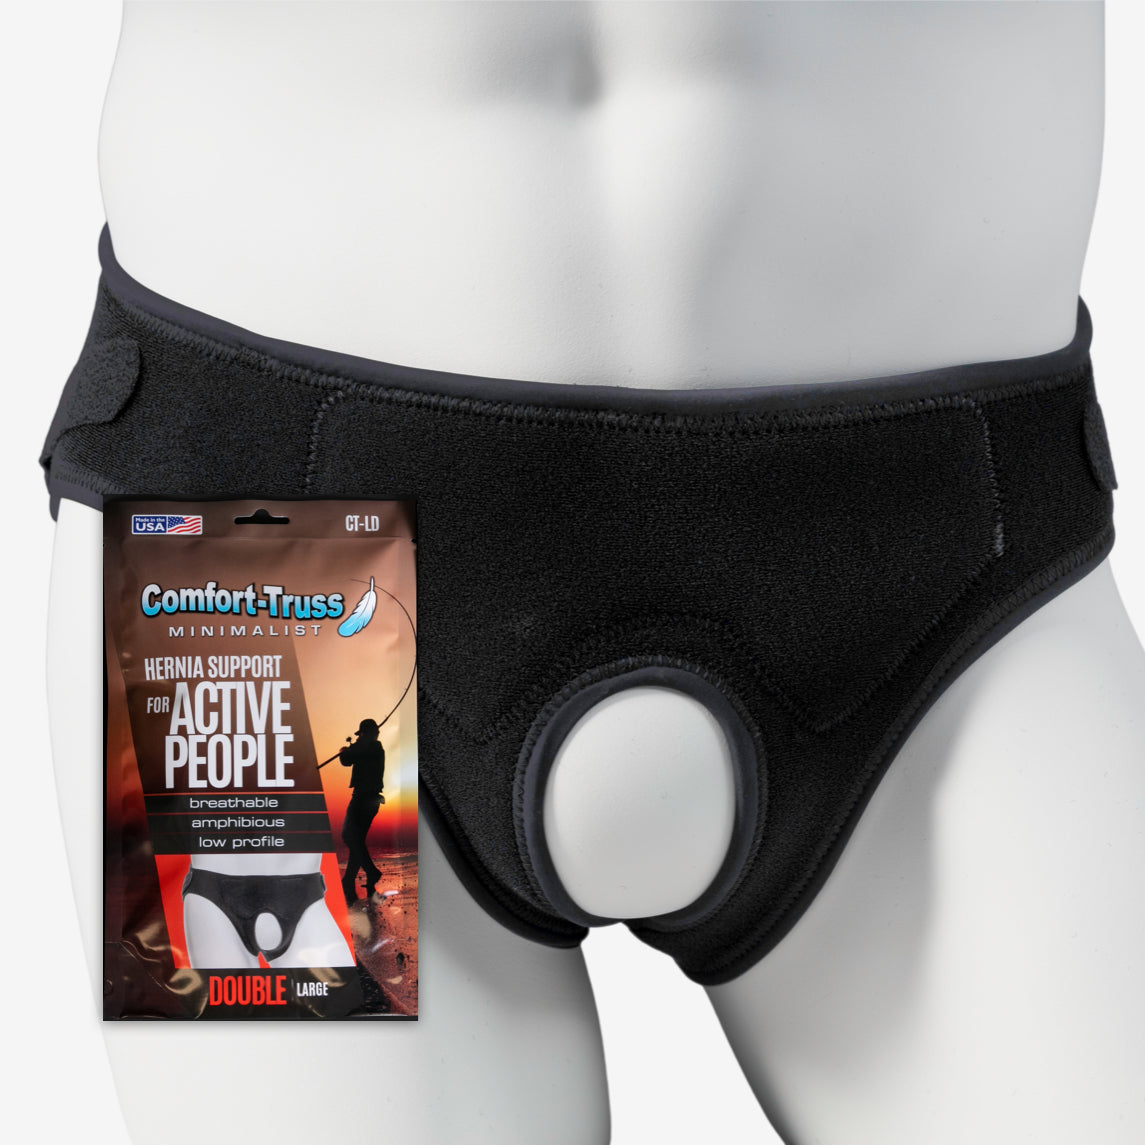
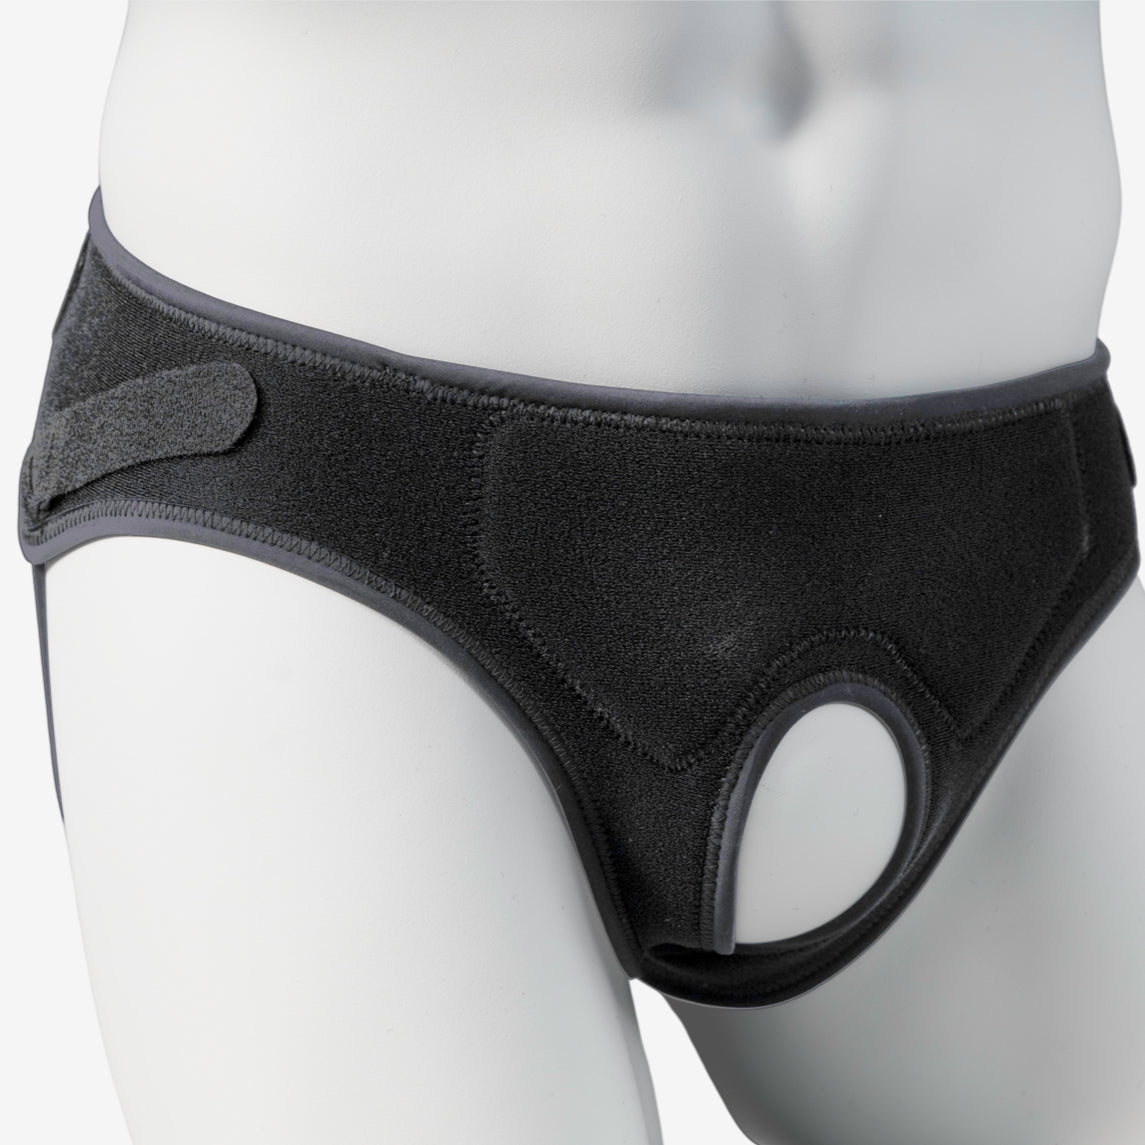
Find the Comfort-Truss label — this should always face inward, directly against your skin. That’s how you know the belt is positioned correctly.
❌ Wrong way: Label facing out, or pad placed on the wrong side
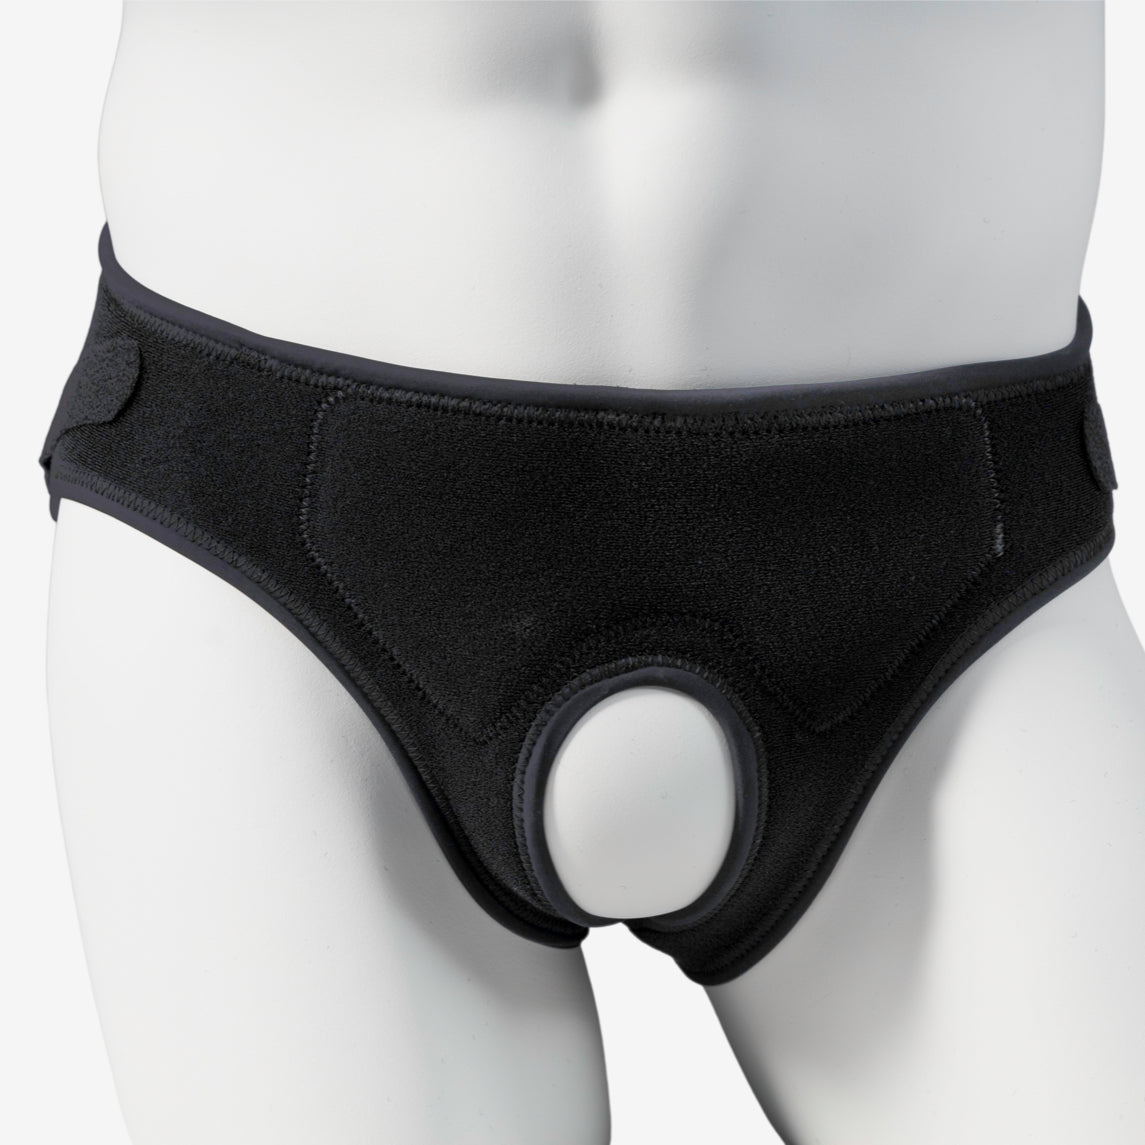
✅ Right way: Label facing in, pad centered over the hernia
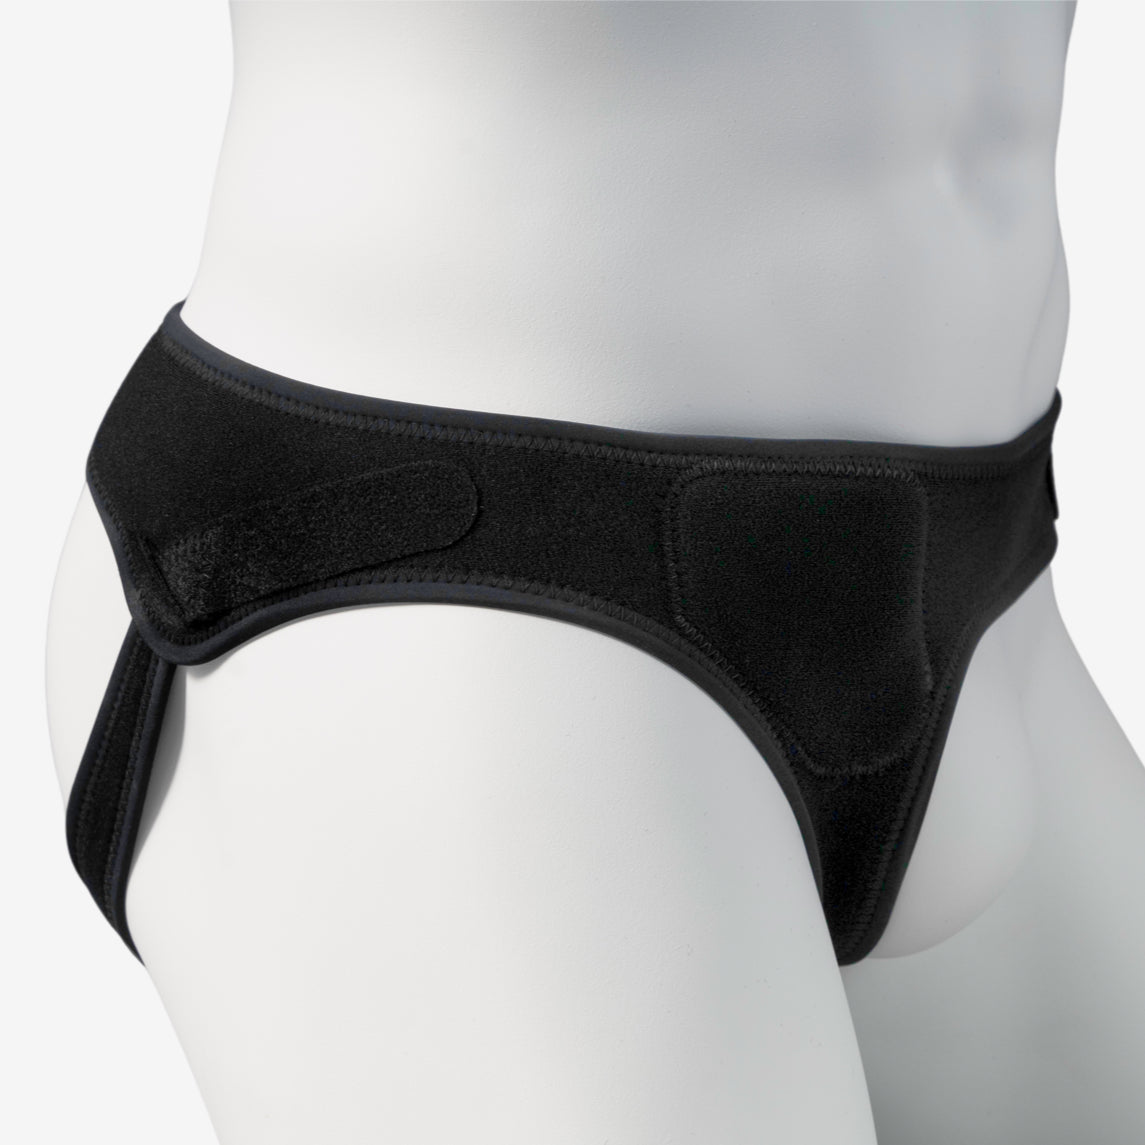
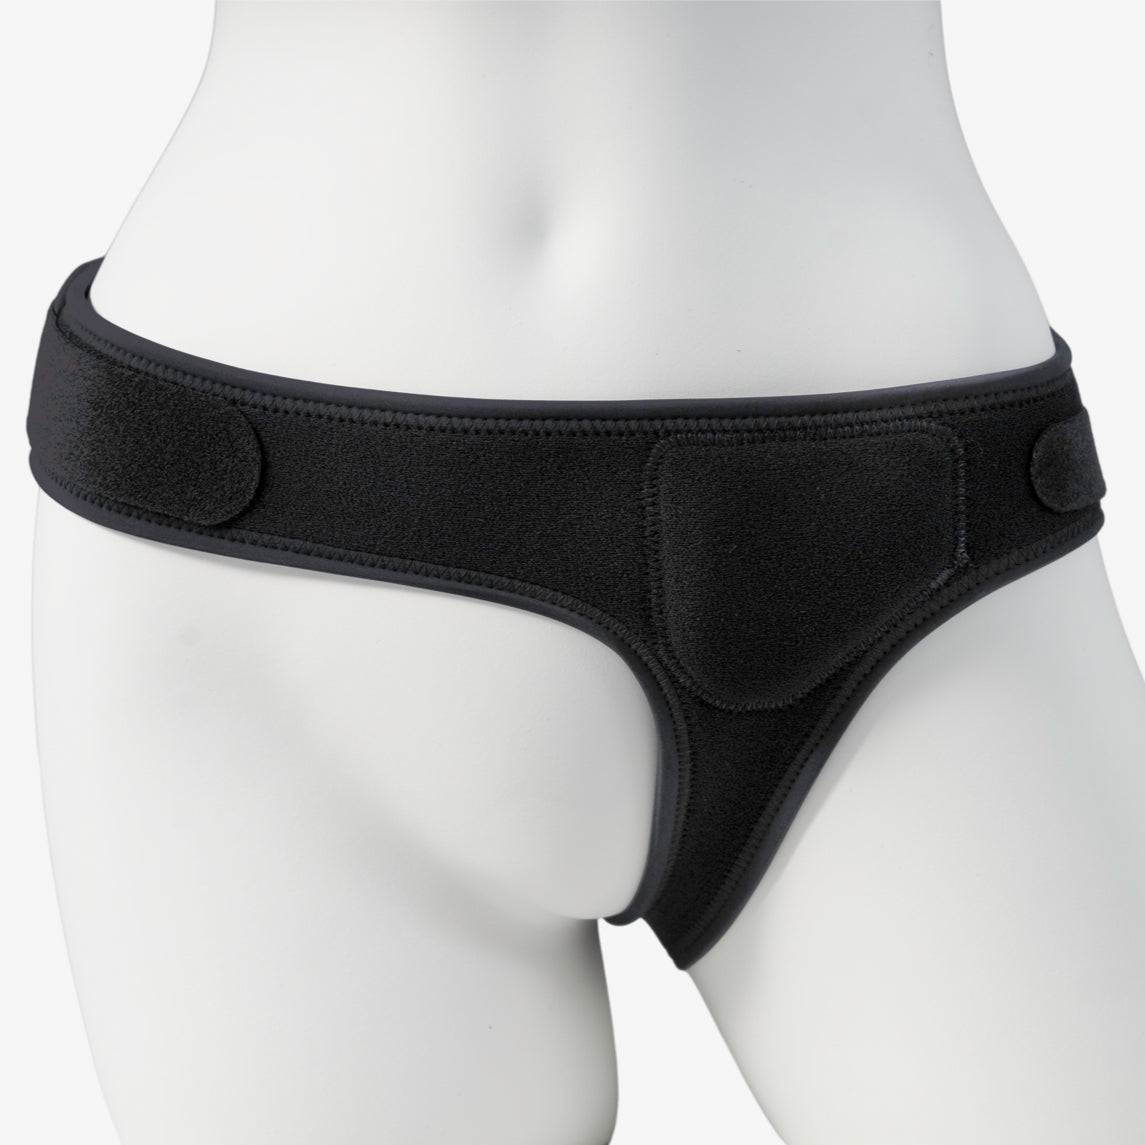
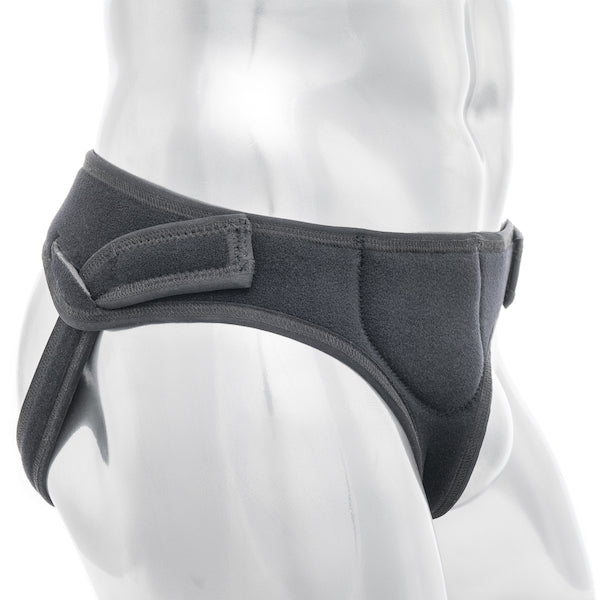
✅ Step 5: Center the Pad Over the Hernia
The hernia pad should sit directly over the hernia bulge. Not off to the side. Not underneath. Right on top.
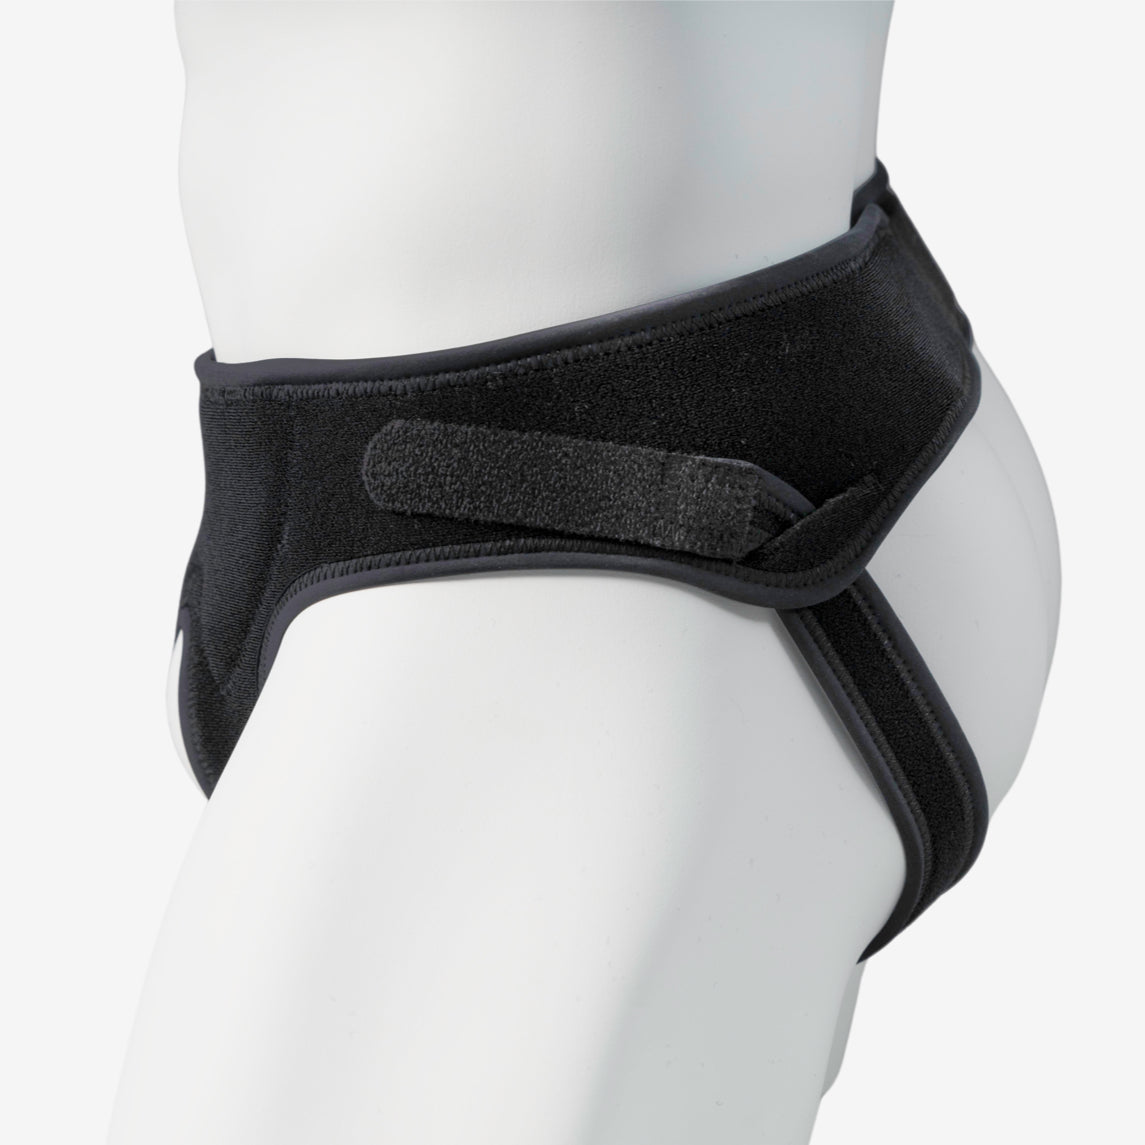
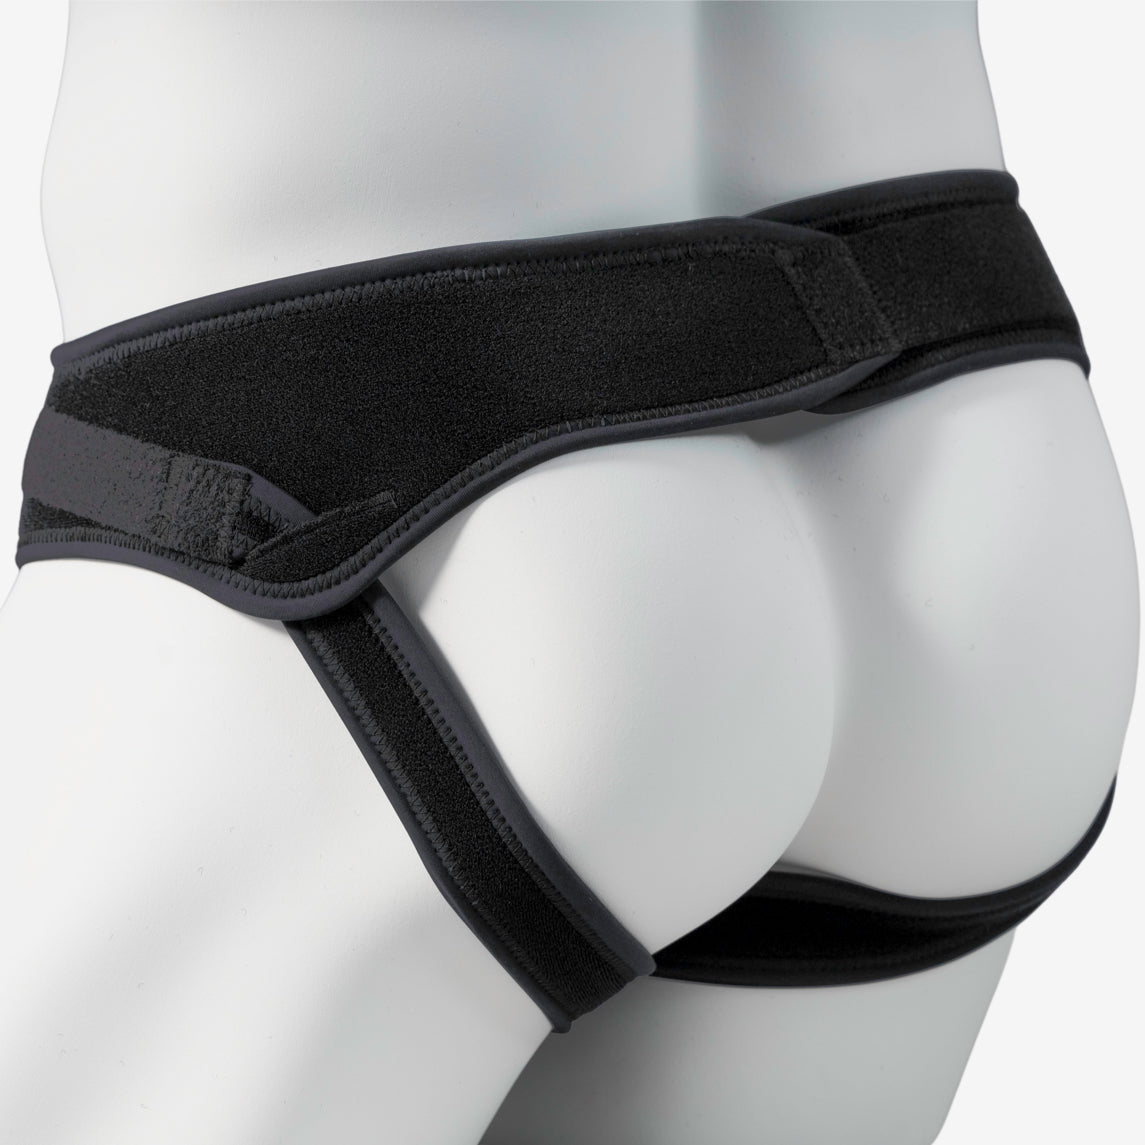
For a left-side belt, the waist strap should wrap around and fasten above your right hip. Be sure to pull the strap tightly enough so that Velcro doesn't rub against your skin.
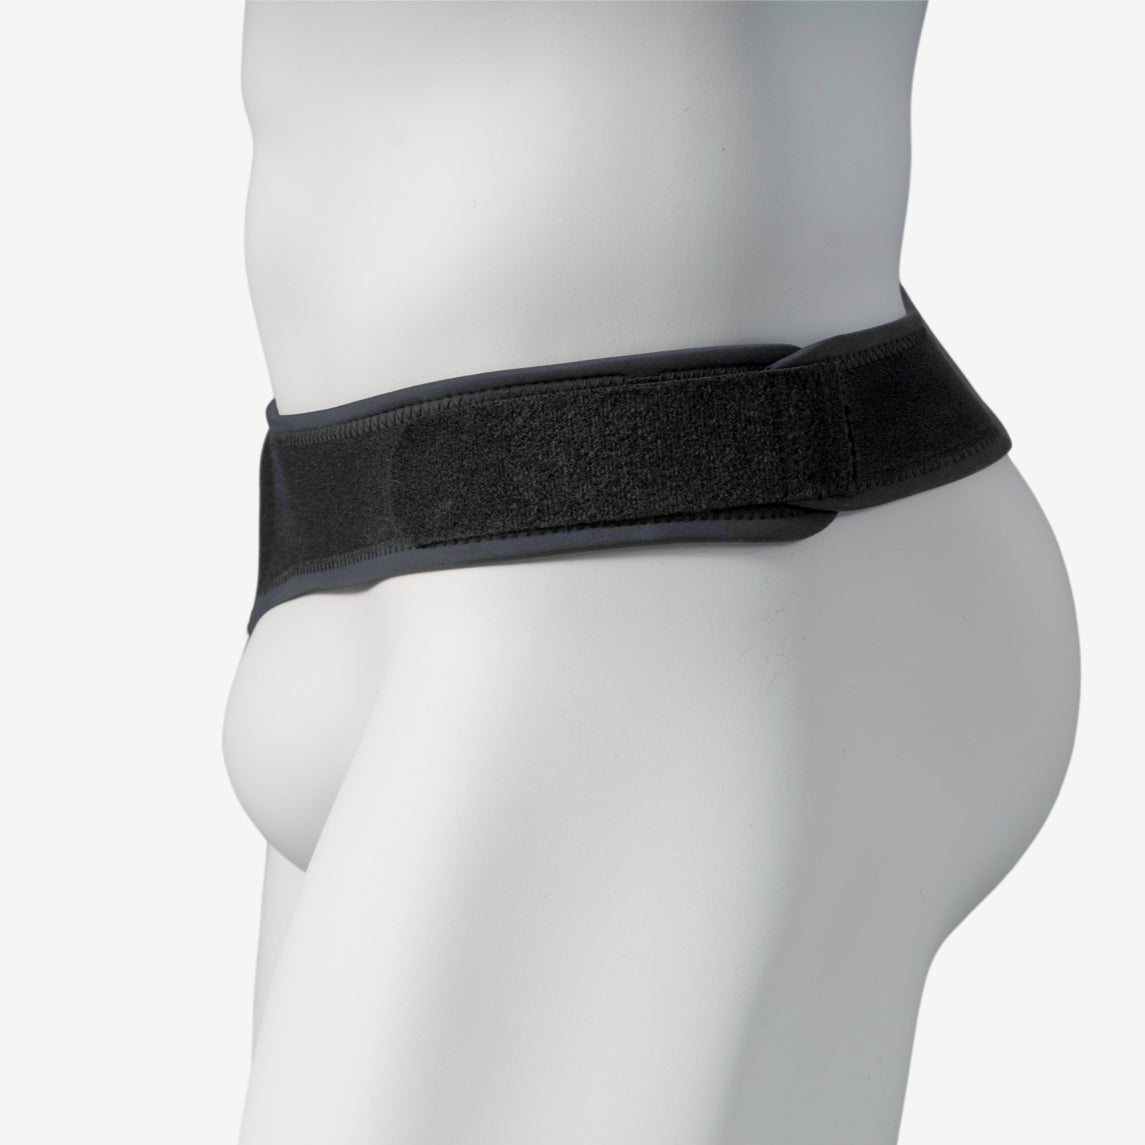
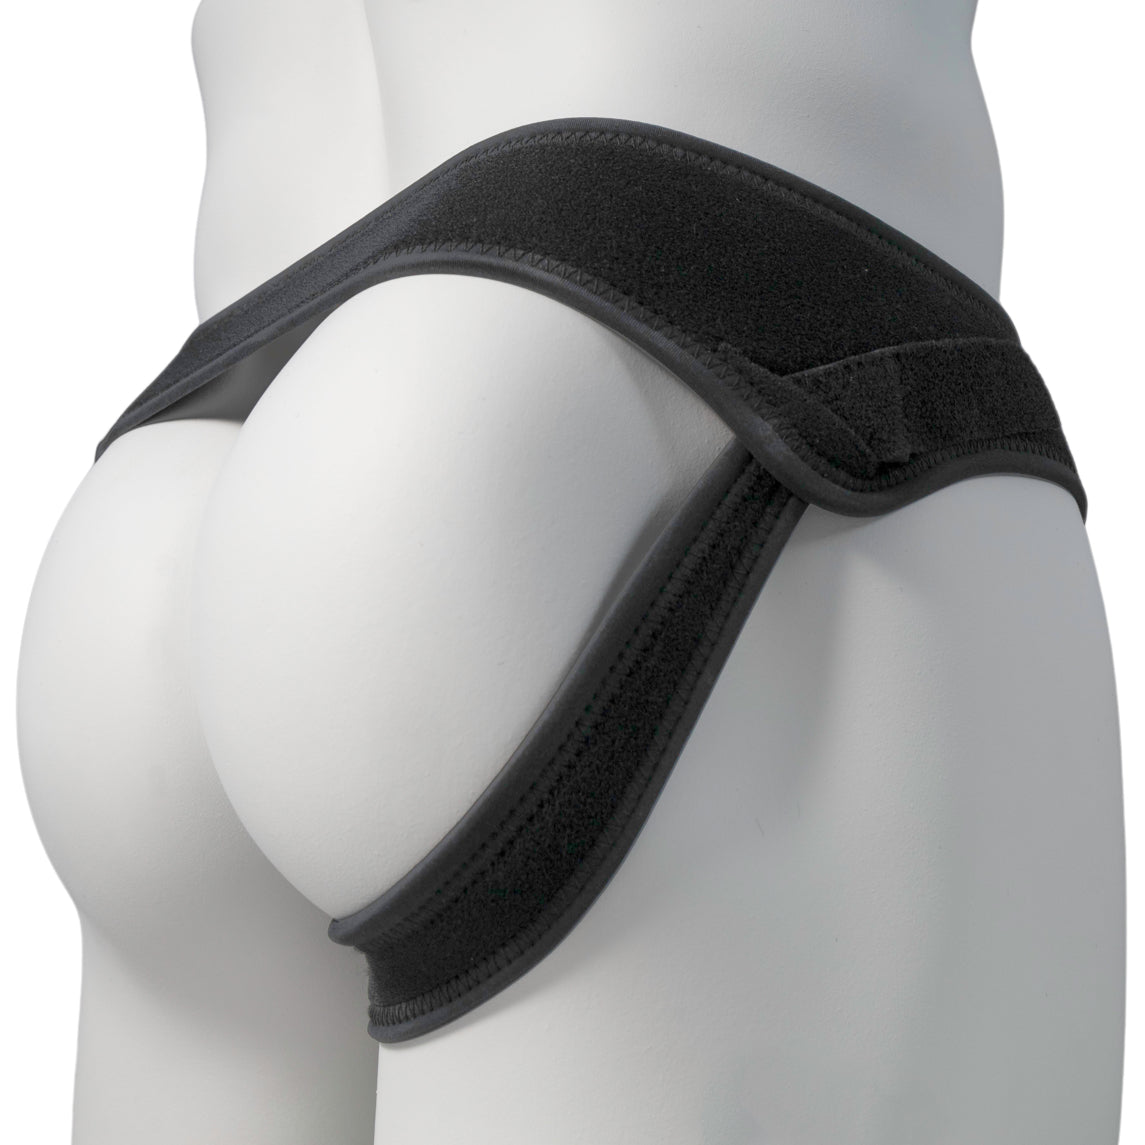
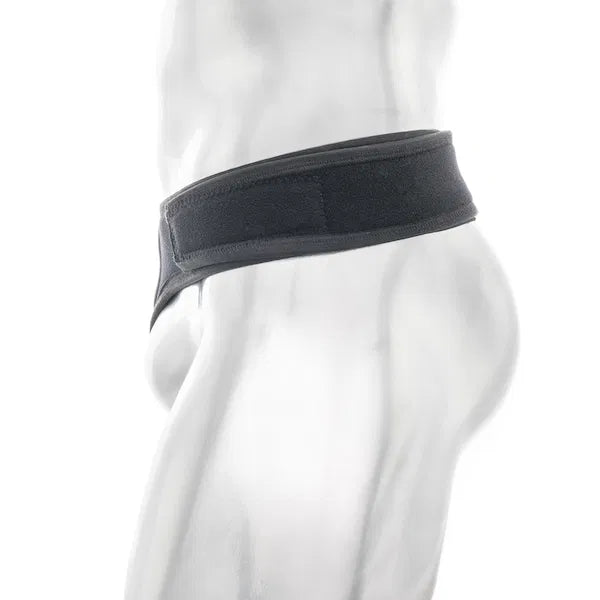
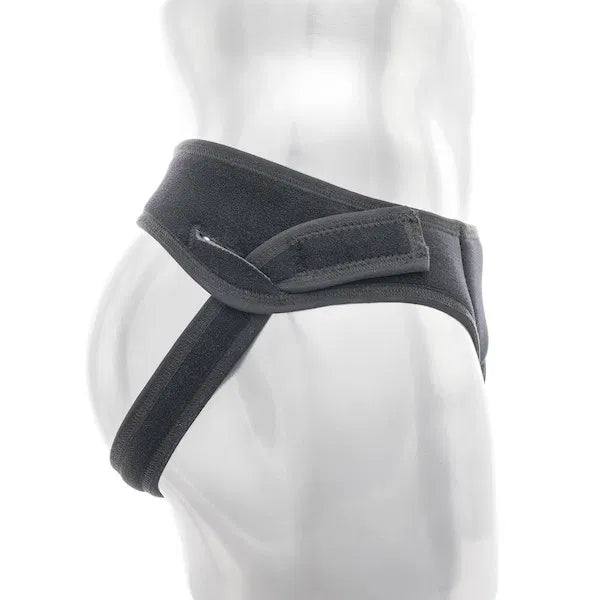
✅ Step 6: Wrap the Leg Strap Correctly
With the pad in place and waist strap secured:
- Grab the leg strap (it’ll hang down on the same side as your hernia).
- Loop it around the same side leg that the hernia is on.
- Thread the strap up through the slit on the back of the waist strap.
- Pull tight and fasten.
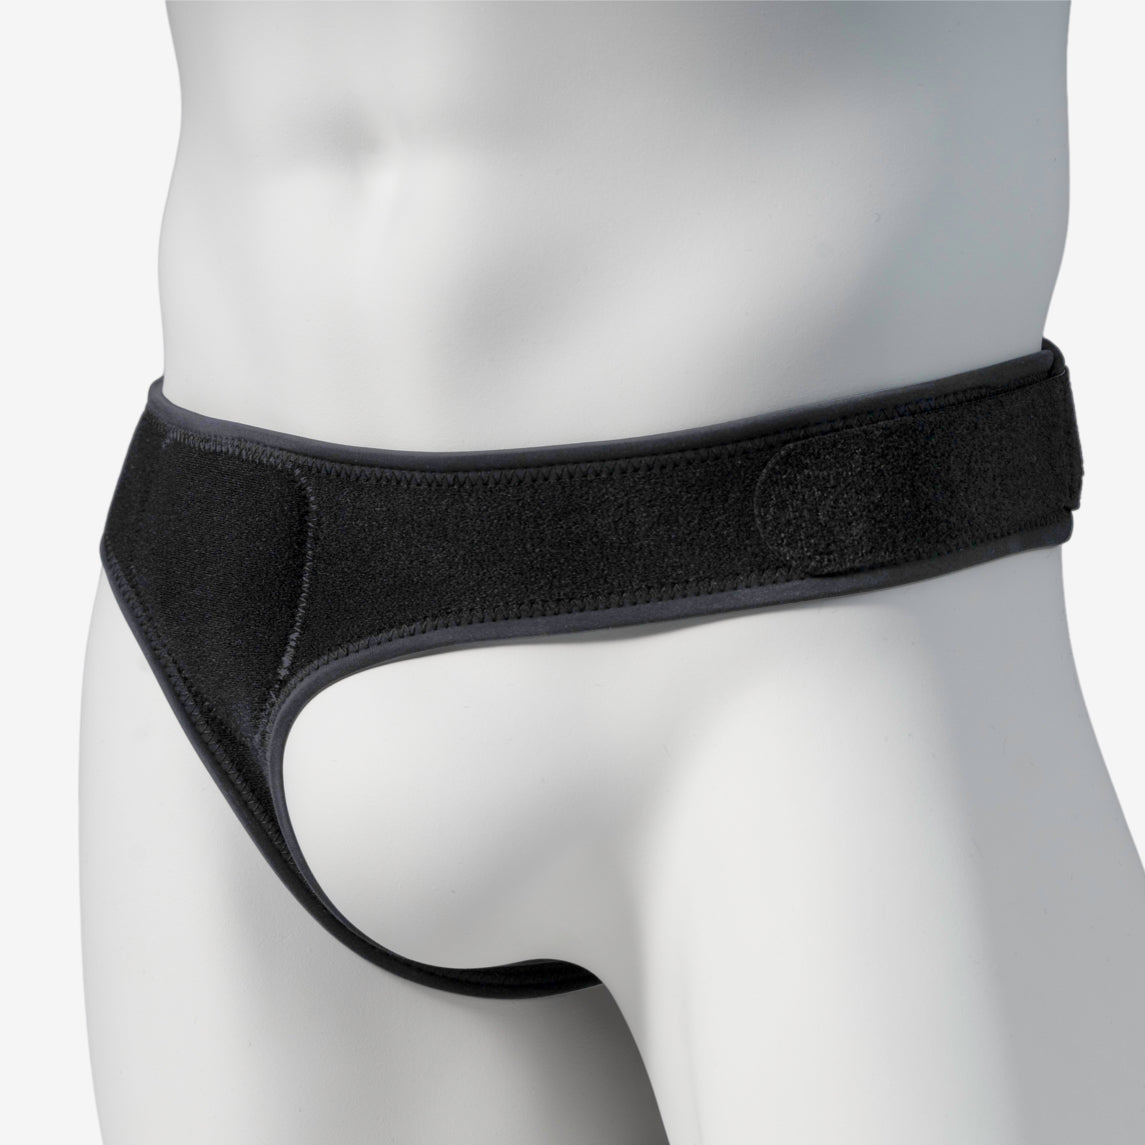
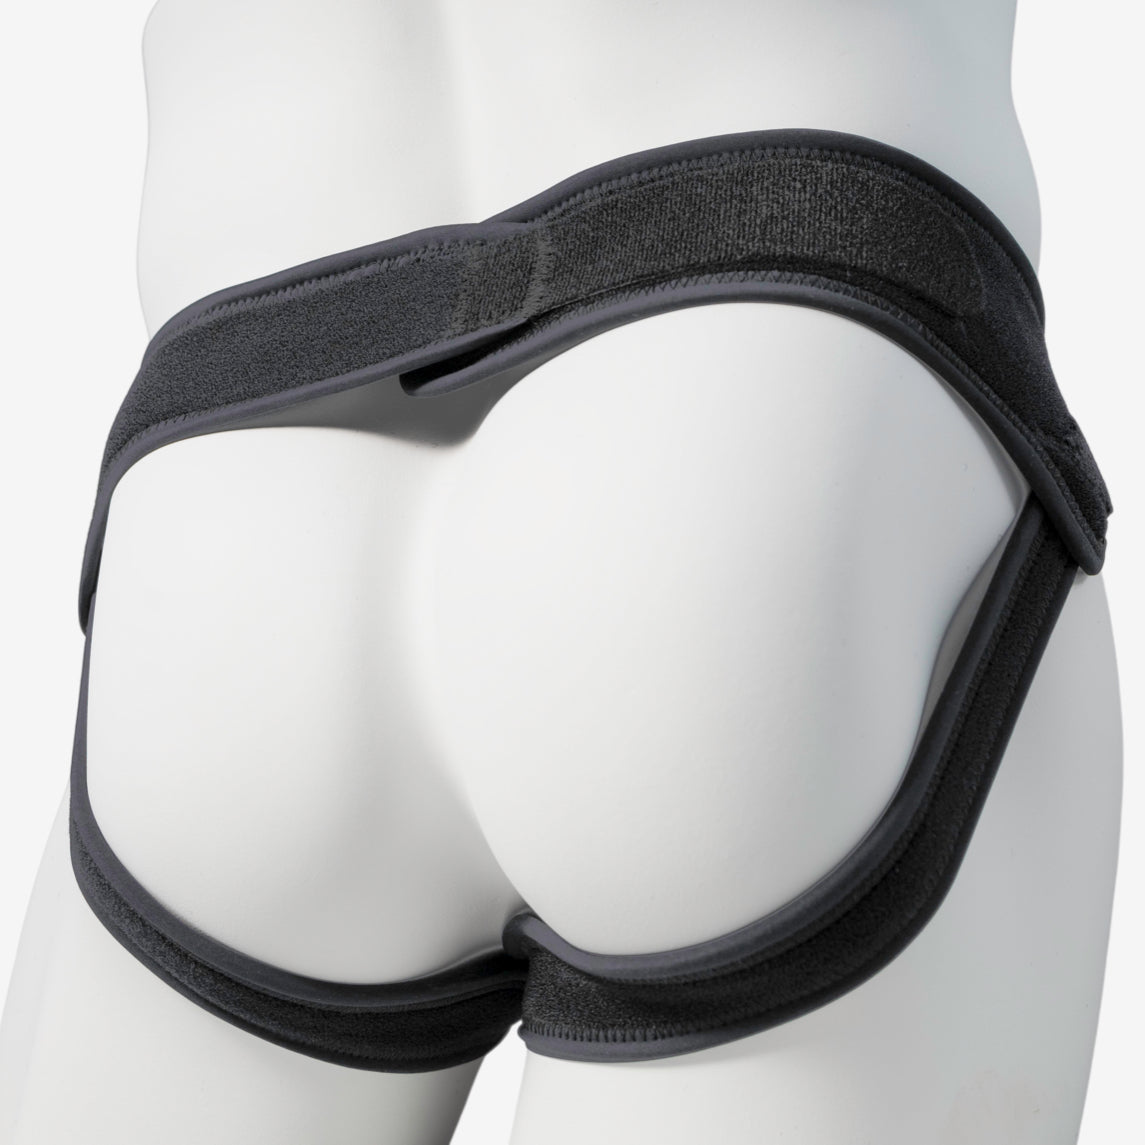
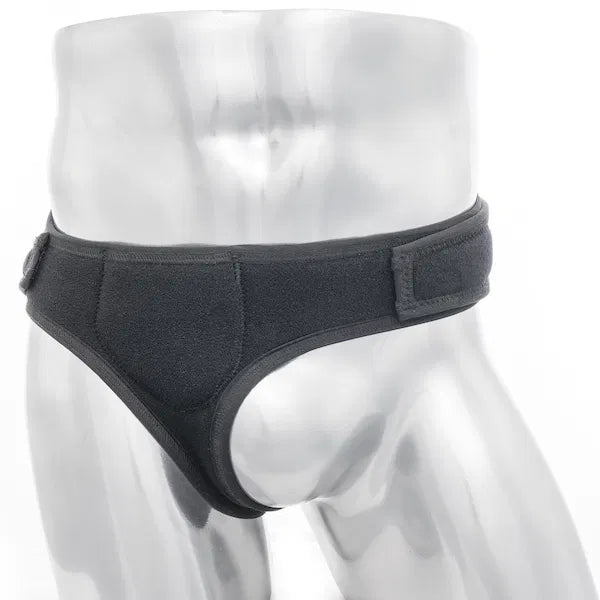
Your setup should now look like this:
- Pad over the hernia
- Waist strap snug around your hips
- Leg strap wrapping around and attached on the same side
✅ Step 7: Make Micro Adjustments for Comfort
Now that it’s on, you can fine-tune the tightness with the Velcro straps. Adjust until it feels snug and secure without being uncomfortable. Everyone’s body is a little different, so dial it in until it feels right.
Final Thoughts
Wearing your Comfort-Truss belt the correct way can be a game-changer. Whether you’re surfing, training, working, or just living life, the right fit gives you the support and peace of mind to keep moving without constantly having to worry about your hernia.
If you have questions, our team is here to help. Just email us at info@comfort-truss.com.
🔁 Related Posts
- Why Most Hernia Belts Fail, and What I Did Differently
- Choosing the Right Hernia Belt - A Comprehensive Guide
- What Is a Hernia?
George Hirst
George Hirst is the creator of the Comfort-Truss hernia belt and the voice behind its blog. As an athlete determined to continue living an active life without surgery, and frustrated by the lack of comfortable, functional options after his own hernia diagnosis, he developed a solution that could keep up with an active lifestyle. His writing draws on deep personal experience, insights from a large community of hernia sufferers, and a commitment to helping others manage their condition without giving up the activities they love.